Building A SustaInable Life...

Friday, October 12, 2012

Making: Cat Cottage

We were totally going to construct a wooden box and line it with styrofoam for insulation for our kids cats to hang in outside. Then we found a wooden box lined with styrofoam in the garage. Makeshift cooler? What are you gonna do...


We added some carpet, carved out a space for a cat door, and prettied it. A vinyl tablecloth covering the top should protect it somewhat from rain and if it gets too cold we can add a heater (or even a 100-watt incandescent light bulb).


Kepler is a fan


Sunday, August 26, 2012

Before & During: Dandelion Cottage

The guest bunkie has been in progress for a while now; with family members inc shortly we're in the home stretch, which means building beds (whaaat?) and walling in the last of the, er, walls. THEN COMES DECORATING!

*koff*

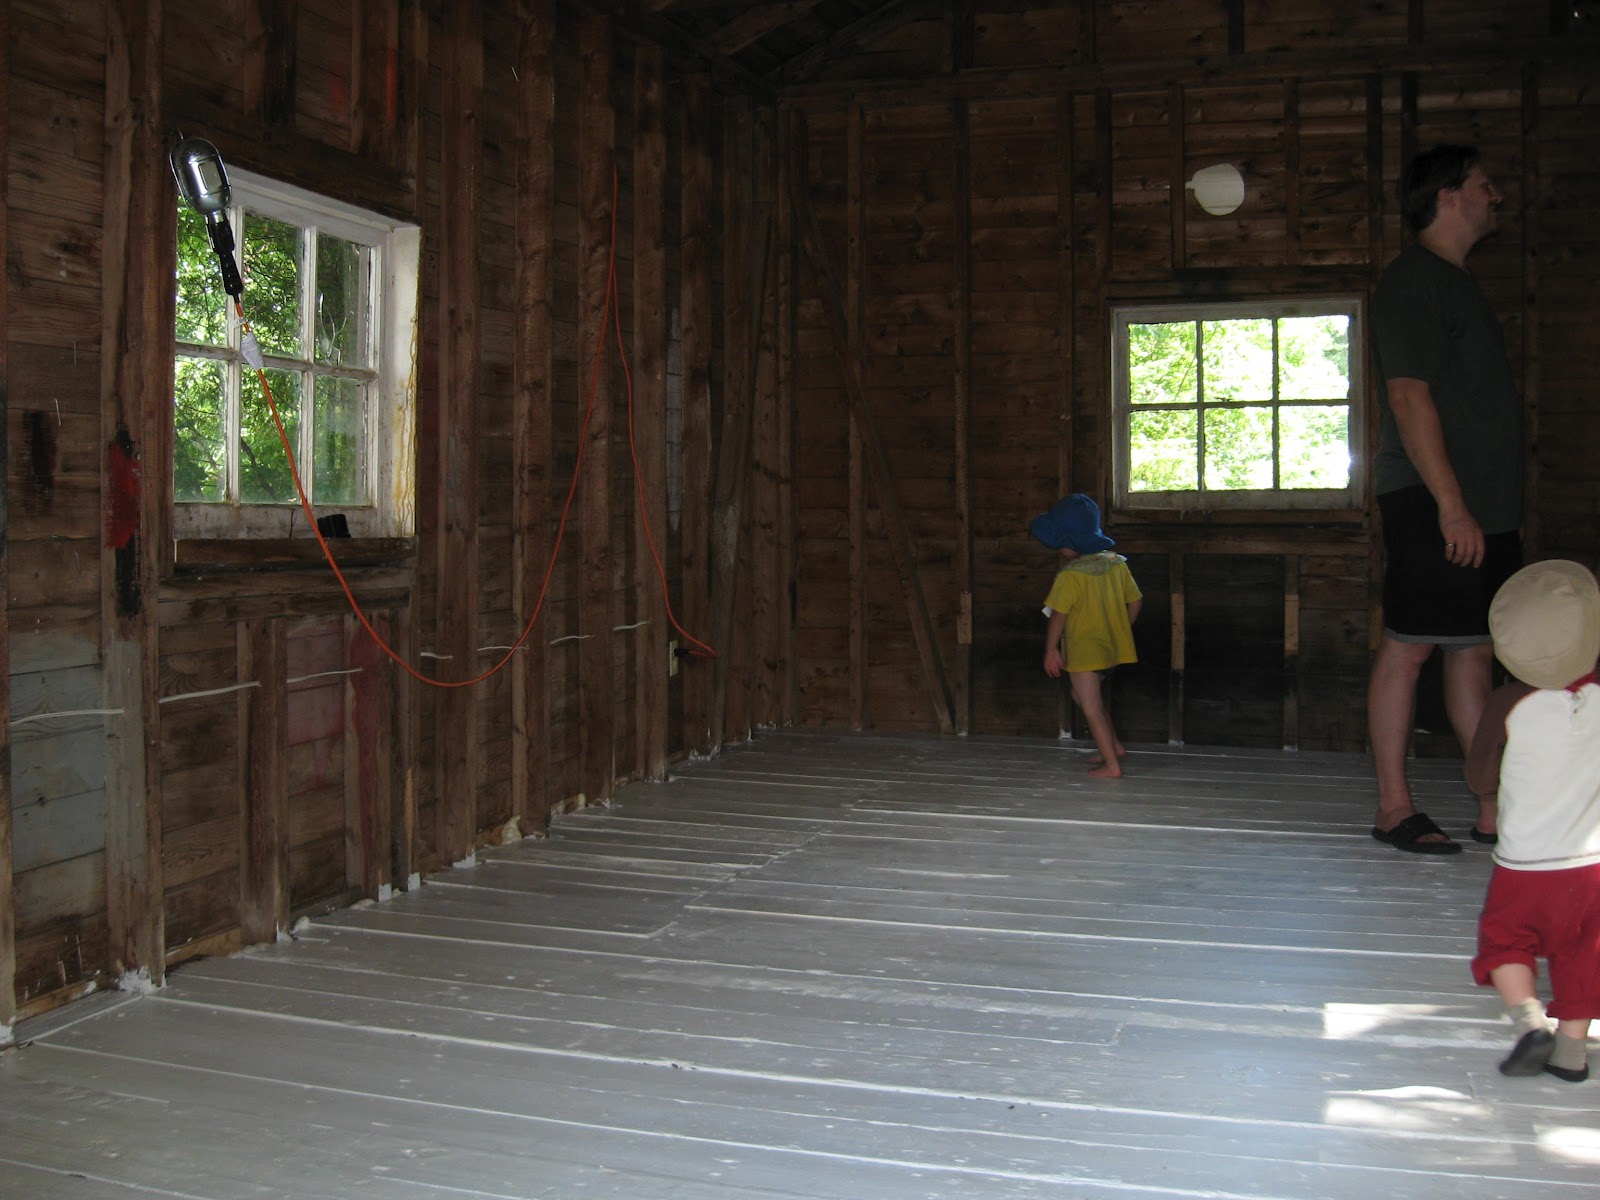
This is a building that had a former life as an old garage, and when we found it it was stuffed with old furniture, oil-stained, holey and dirty, with a thousand nails poking through the walls and a shifting foundation. It had been well-protected from the elements, though, and we were able to clean it out and shore up the foundation, to be left with a sturdy, dry, clean structure to fix up.

I don't have any truly *before* pictures, but here are some illustrating our progress:


After painting the floor... oh, and wiring!


Wall paneling going up


The temporary bed workshop


A composting toilet!


These doors are original, and really interesting. They're hinged in two places and sort of roll open in two stages. Definitely a feature we wanted to keep.


This door is not quite so pretty, but as it's an extremely crooked frame and section of floor, it's proven easier to keep the door that works. We'll prettify it.


Building beds


Sink hacking


Curtain rod for bathroom privacy


Saturday, August 4, 2012

Before & After: Painted Dresser

My first completed project of any significance since moving out here. We found this dresser at a great local new and used furniture shop for like 40 bucks.


Decent lines, a little rough and ugly (there is a mirror too). So I decided I would give painting it a go. No need for a tutorial, I literally followed Centsational Girl's instructions here. This worked brilliantly, and I'll definitely be using Zinsser's Cover Stain for future projects that require painting over laminate or veneer surfaces.

And since it seems drawer hardware in the appropriate sizes to match these holes literally does not exist anymore (you can always fill and drill new holes but I'd assumed I'd be able to find hardware and so didn't do this), we set about brainstorming for new hardware options. I loved this idea but we quickly realized it would get very expensive very fast. I can't bring myself to pay more for drawer pulls than for the dresser itself, though it would have been super cool.

So we found this idea and went with it.

This is the finished result:


The rope's already started slackening a bit so the handles all lie nicely now (some of them look a little taut in these pics).


Monday, July 23, 2012

Three


Captain Tightpants is now Captain Underpants and isgrowing up so big!" Three years old yesterday.


My take on a Very Hungry Caterpillar cake

  
His take on it...


Om nom nom


He is his mother's son


We built them a sand table out of this... table... thing that we found in Guest Cottage #1 when we moved in. It was this kind of industrial wood-grain-metal counter with an open top and a big shelf underneath (toy storage, hello!). I spray-painted it red, we made a lid for it out of some old particle board found onsite (varnished it, to keep the rain out), then filled it with Crayola play sand.


Happy Birthday, little dude.